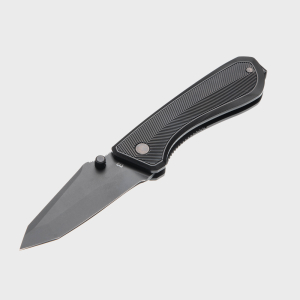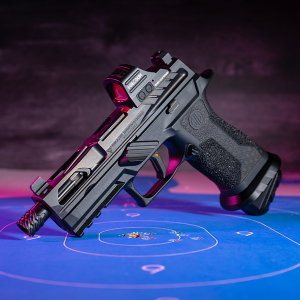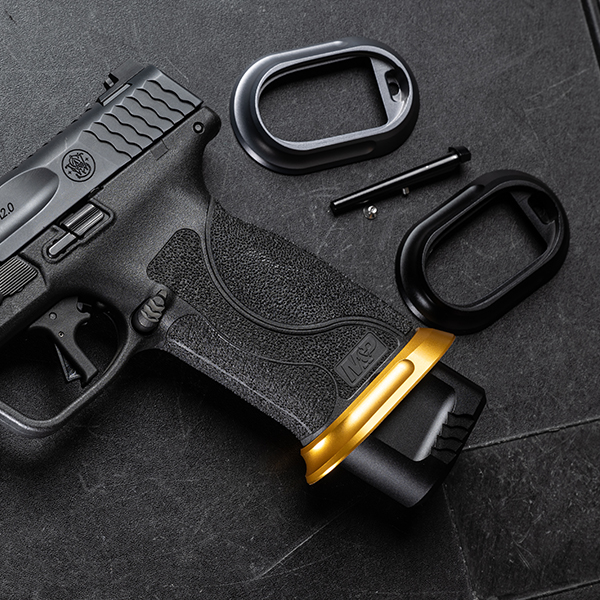
Upgrading your Smith & Wesson M&P with a magwell is an excellent way to improve reload speed, accuracy, and overall performance. A magwell helps guide the magazine into place, making magazine changes smoother, especially in high-pressure environments like competitions or self-defense situations. In this step-by-step guide, we will walk you through the process of installing a magwell on your Smith & Wesson M&P.
Why Install a Magwell on Your Smith & Wesson M&P?
A magwell is a great addition for several reasons:
-
Faster Reloads: The magwell funnels the magazine into place, reducing the time spent fumbling during reloads.
-
Enhanced Stability: It provides a more stable grip, especially when engaging in rapid magazine swaps.
-
Protection: A magwell can also help prevent dirt and debris from entering the magazine well, keeping your firearm functioning smoothly.
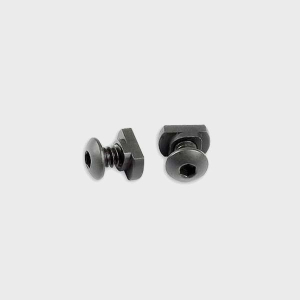
Tools You Will Need
Before you begin installing the magwell, gather the following tools:
-
Flathead screwdriver
-
Punch tool or drift pin
-
3/32” punch (or appropriate size for your model)
-
A torque wrench (optional)
-
A clean cloth to keep your firearm free from debris
Step 1: Unload and Safety Check
Safety first! Make sure the firearm is unloaded by checking the chamber, magazine, and any other potential ammunition sources. Always perform a safety check to avoid any accidents during the installation process.
Step 2: Remove the M&P's Grip Panels
To install the magwell, you must first remove the grip panels. The Smith & Wesson M&P features interchangeable backstraps and grip panels, which makes it relatively easy to access the magazine well.
-
Use a flathead screwdriver or appropriate tool to remove the screws holding the grip panels in place.
-
Carefully remove the panels and set them aside. You will need to reattach them later.
Step 3: Disassemble the M&P (If Needed)
In some models, you may need to remove the frame’s backstrap to fully expose the magazine well.
-
Using a punch tool or drift pin, remove the backstrap from the grip.
-
Once the backstrap is removed, the magwell should be easily accessible.
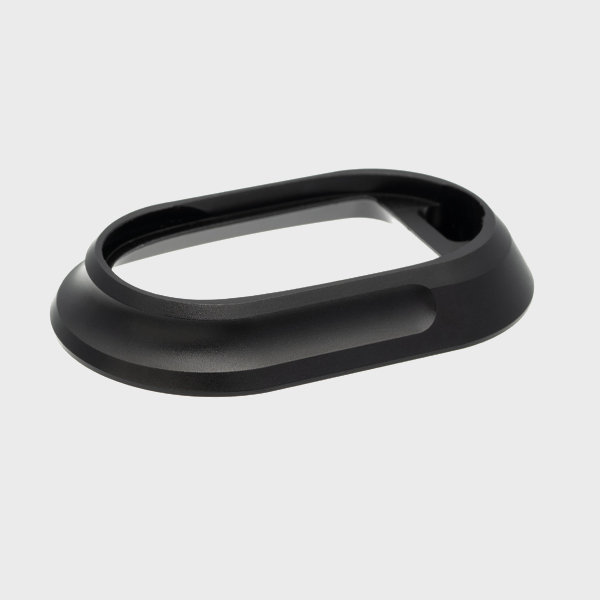
Step 4: Align the Magwell
With the magwell and firearm properly prepared, you can now align the magwell to the base of the frame. Ensure that the magwell is oriented in the correct direction, as some models have specific fitting designs.
-
If your magwell is a two-piece design, ensure that the top portion aligns with the frame and the bottom section sits securely around the base of the magazine well.
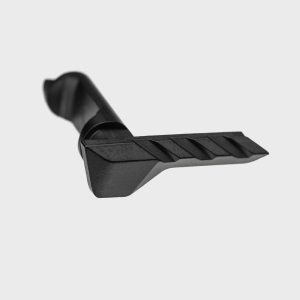
Step 5: Install the Magwell
-
Position the Magwell: Place the magwell onto the bottom of the grip, ensuring it fits snugly around the magazine well.
-
Attach Screws: Using the provided screws, attach the magwell to the firearm. Tighten the screws evenly, but avoid over-tightening, as this could damage the magwell or firearm.
-
Secure the Backstrap (if removed): Once the magwell is installed, replace the backstrap and secure it using the appropriate screws.
Step 6: Reinstall the Grip Panels
Now that the magwell is in place and secure, it’s time to reinstall the grip panels:
-
Align the grip panels back onto the frame.
-
Use the screws to secure the panels in place, ensuring they are tight but not over-torqued.
Step 7: Check for Proper Functionality
Before calling it a day, double-check the functionality of your M&P:
-
Magwell Fit: Ensure the magwell fits securely and does not shift when the firearm is handled.
-
Magazine Fit: Insert a magazine and ensure it seats properly without obstruction. The magwell should guide the magazine into place smoothly.
-
Dry Fire Check: Perform a dry fire check to ensure the firearm functions as expected and there is no interference with the magazine release or the trigger mechanism.
Step 8: Test at the Range
Once your magwell is installed, it’s essential to take your M&P to the range to test it under real-world conditions. Try a few quick reload drills to see how the magwell improves your magazine changes. This test will also help you ensure that the magwell is correctly installed and does not affect the firearm’s performance.
Did you know?
Installing a magwell can improve your reload times by up to 25%, making it a worthwhile upgrade for tactical and competitive shooting.
Conclusion: Upgrade Your M&P with a Magwell for Better Performance
Installing a magwell on your Smith & Wesson M&P is a simple yet highly effective upgrade that enhances magazine changes, improves accuracy, and provides added stability. Following the steps outlined in this guide, you can easily install a magwell and start enjoying its benefits in no time.
For high-quality, precision-engineered parts and accessories for your M&P, explore our selection of upgrades.
FAQs
1. Do I need professional help to install a magwell on my M&P?
No, installing a magwell is a straightforward process that can be done by most firearm owners with basic tools and knowledge. Just make sure to follow the steps carefully.
2. How do I know which magwell is compatible with my M&P?
Check the specifications of the magwell to ensure it is designed for your specific M&P model. Compatibility details are usually provided by the manufacturer.
3. Will installing a magwell void my M&P's warranty?
Installing a magwell typically does not void the warranty, but always check the manufacturer’s terms before making modifications to ensure you are not violating any warranty conditions.
4. Can I install a magwell if I have small hands?
Yes, magwells are designed to improve magazine insertion and handling, making them beneficial for shooters with any hand size, particularly those who find the magazine well difficult to manipulate.
5. How often should I inspect the magwell after installation?
It’s a good idea to periodically check the magwell to ensure that it remains secure and properly fitted, especially after extensive shooting sessions.